A Step-by-Step Guide to Propagating Plants in Planters - The right way to use planters
Propagating plants in planters is an excellent way to multiply your favorite plants, share them with friends and family, and even start a small nursery business. With the right techniques and materials, you can successfully propagate plants in planters and enjoy the many benefits of plant parenthood. In this comprehensive guide, we will walk you through the step-by-step process of propagating plants in planters, highlighting the advantages of using FRP (Fiber-Reinforced Polymer) planters and providing valuable tips and tricks to ensure success.
Why Use Planters for Propagation?

Using planters for propagation offers several advantages over traditional methods:
- Controlled Environment: Planters provide a controlled environment for your plants, allowing you to regulate temperature, humidity, and light exposure.
- Flexibility: Planters can be moved to different locations, making it easy to adjust to changing environmental conditions.
- Space-Saving: Planters can be used in small spaces, such as balconies, patios, or indoor areas, making them ideal for urban gardeners.
- Pest Control: Planters can be designed with built-in pest control features, reducing the risk of infestation.
Choosing the Right Planter

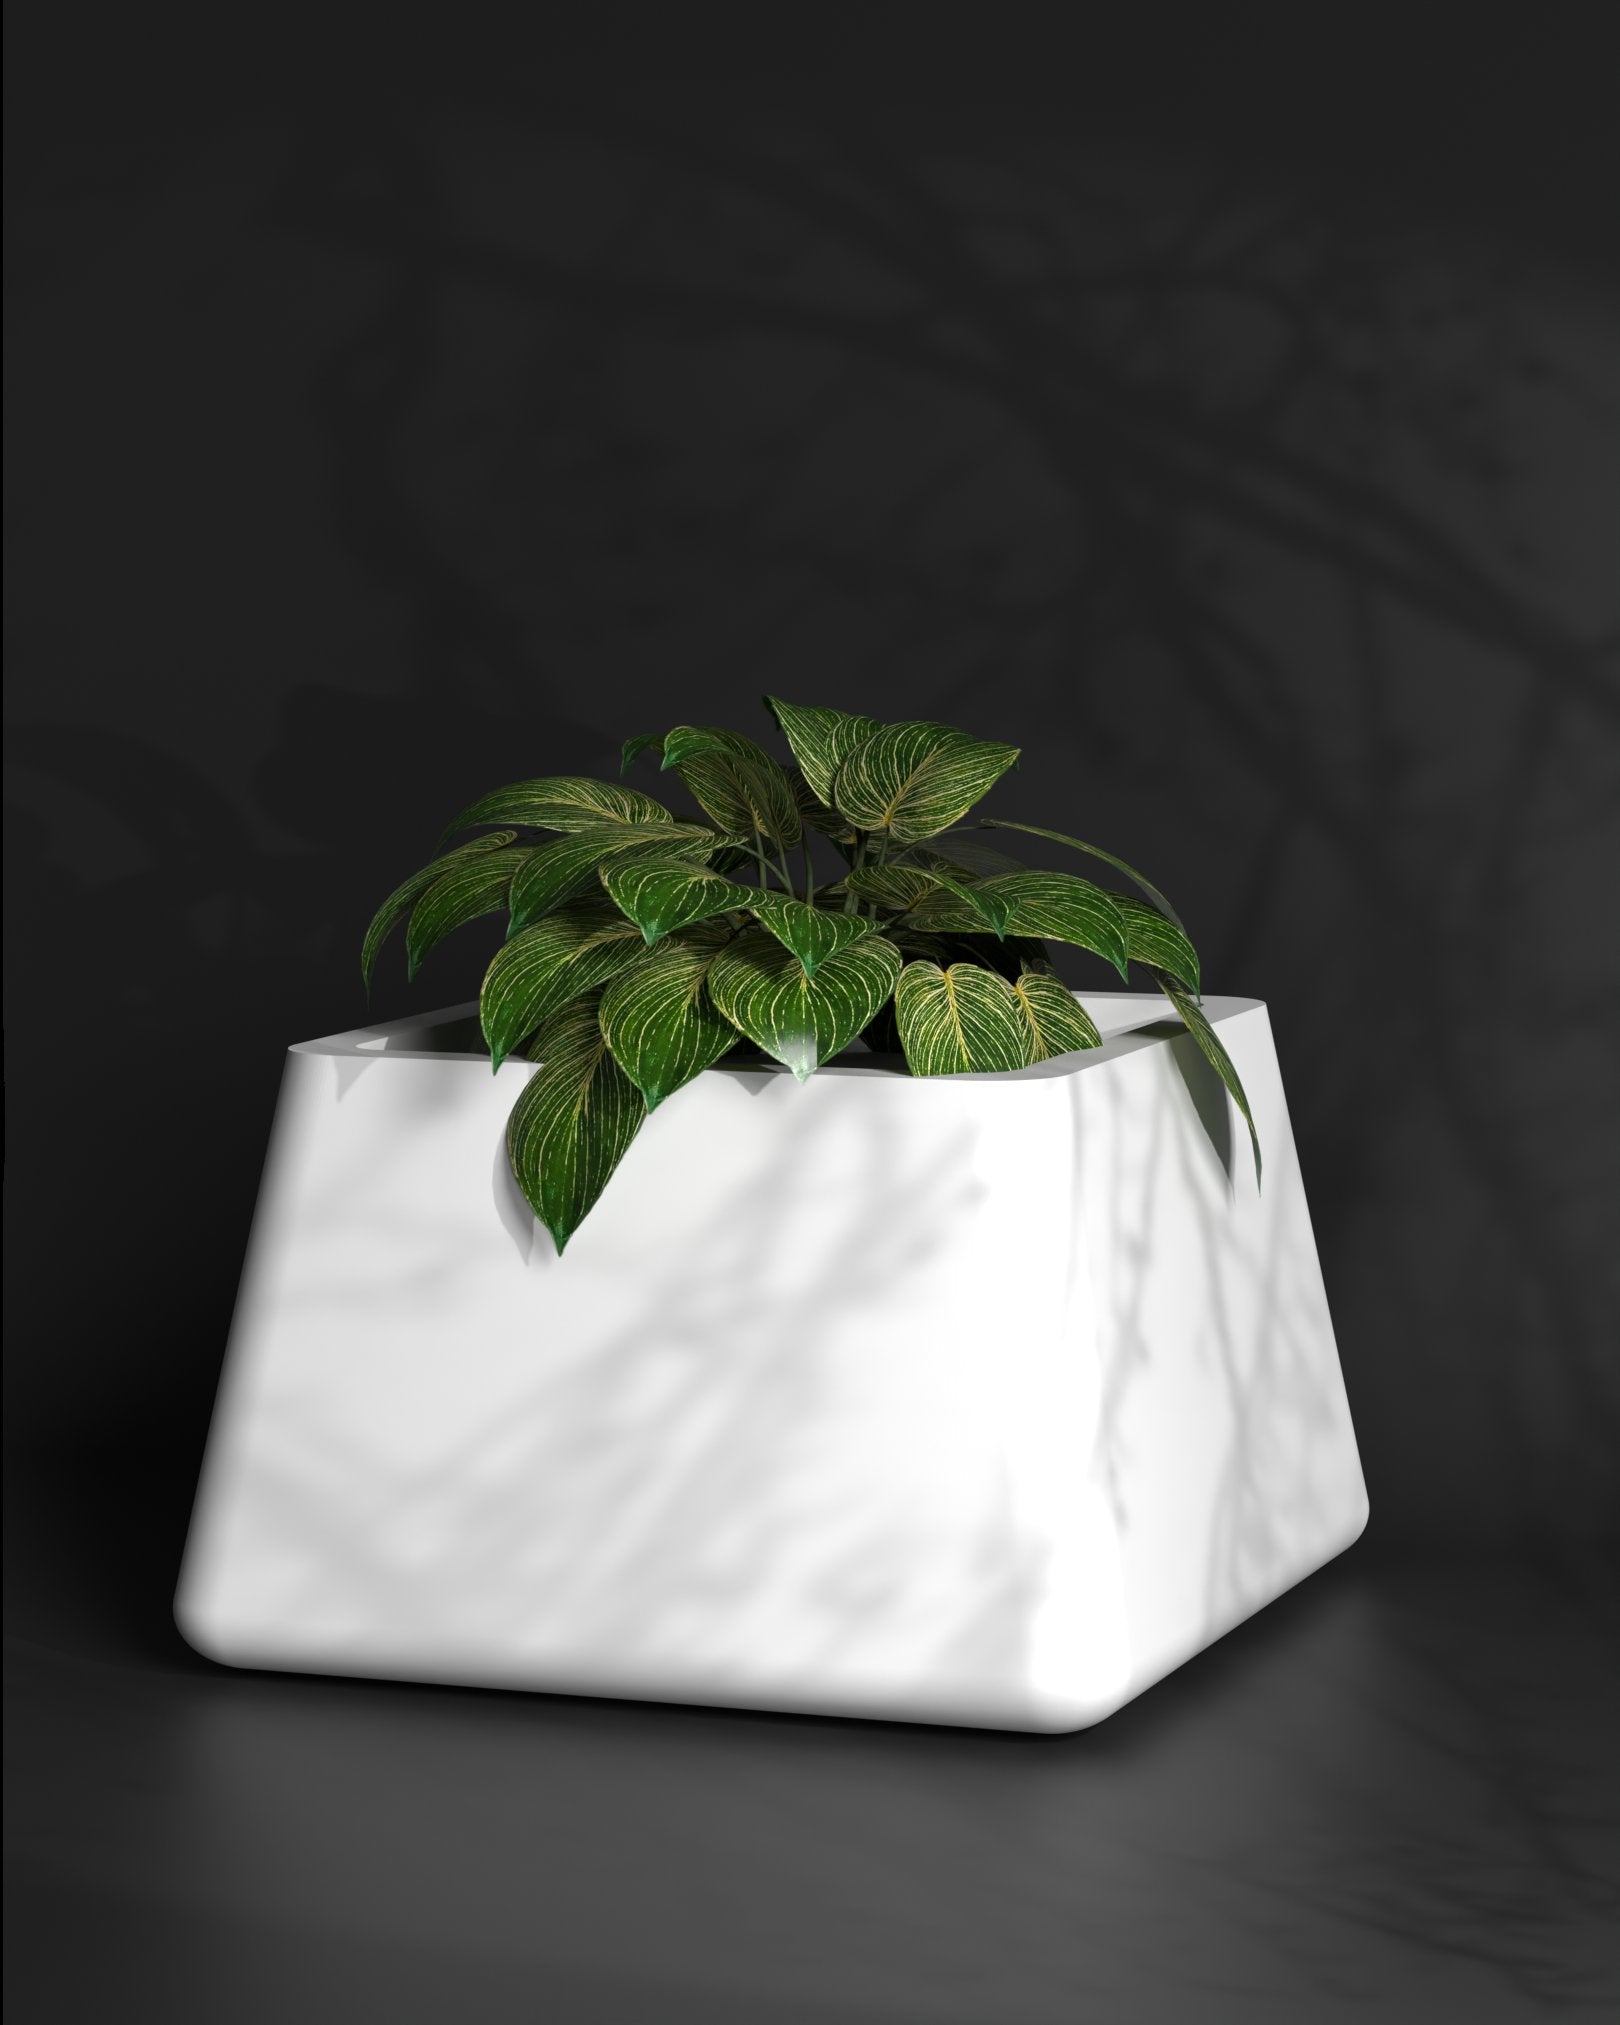
When it comes to propagating plants in planters, the type of planter you use can make a significant difference. FRP planters are an excellent choice for several reasons:
- Durability: FRP planters are lightweight, yet incredibly durable, making them resistant to cracks and breaks.
- Corrosion-Resistant : FRP planters are resistant to corrosion, ensuring they will not degrade over time.

- Low Maintenance: FRP planters are easy to clean and maintain, reducing the risk of disease and pests.
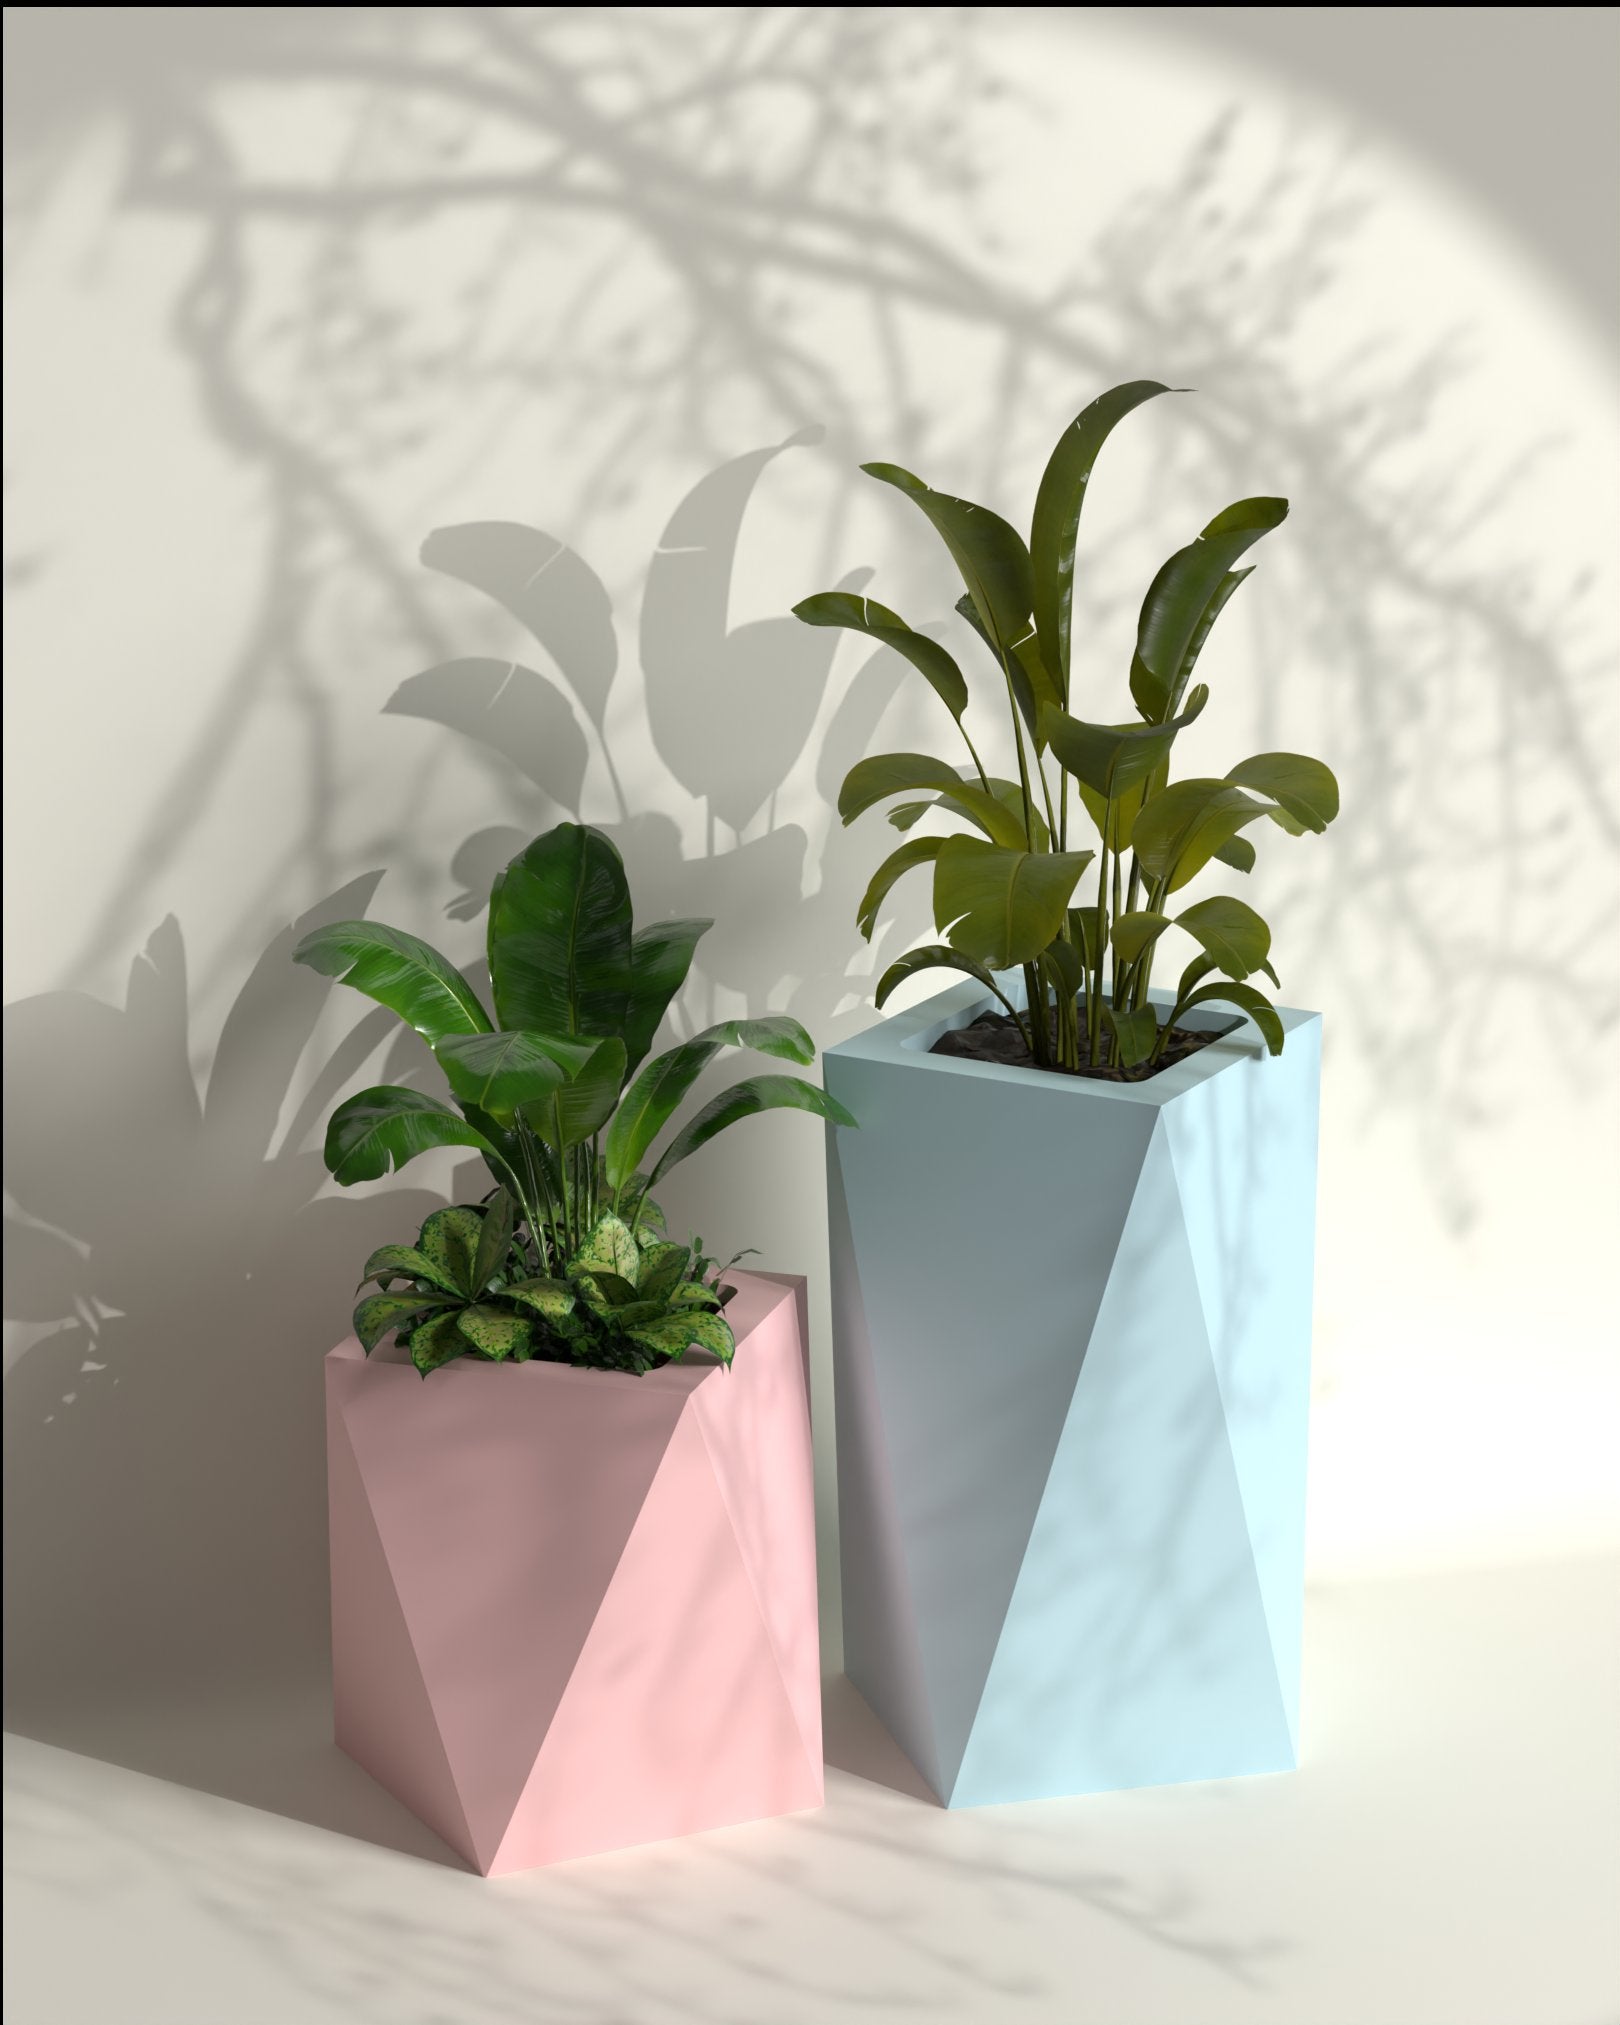
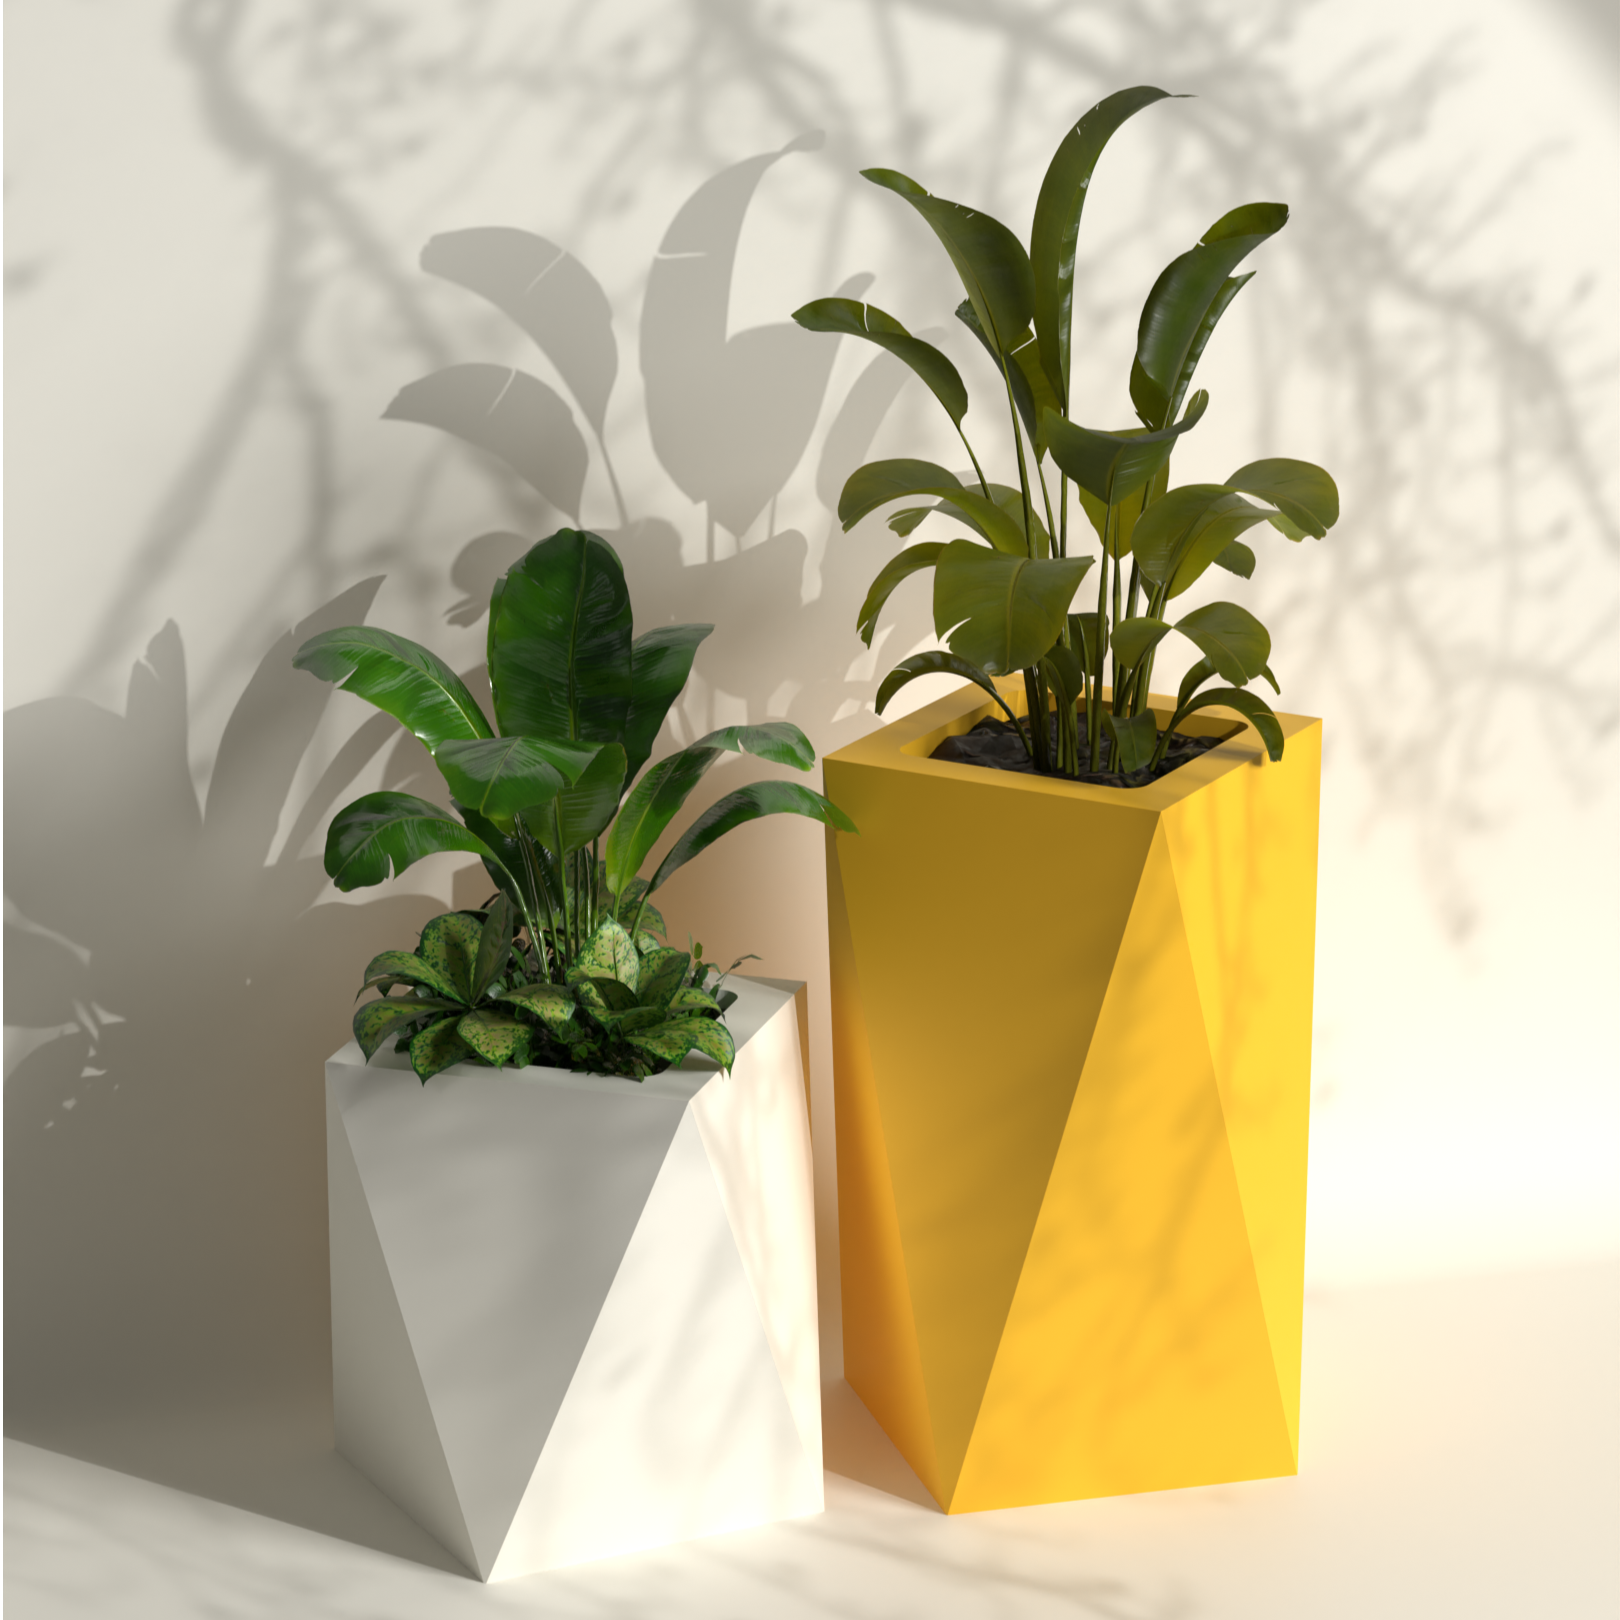
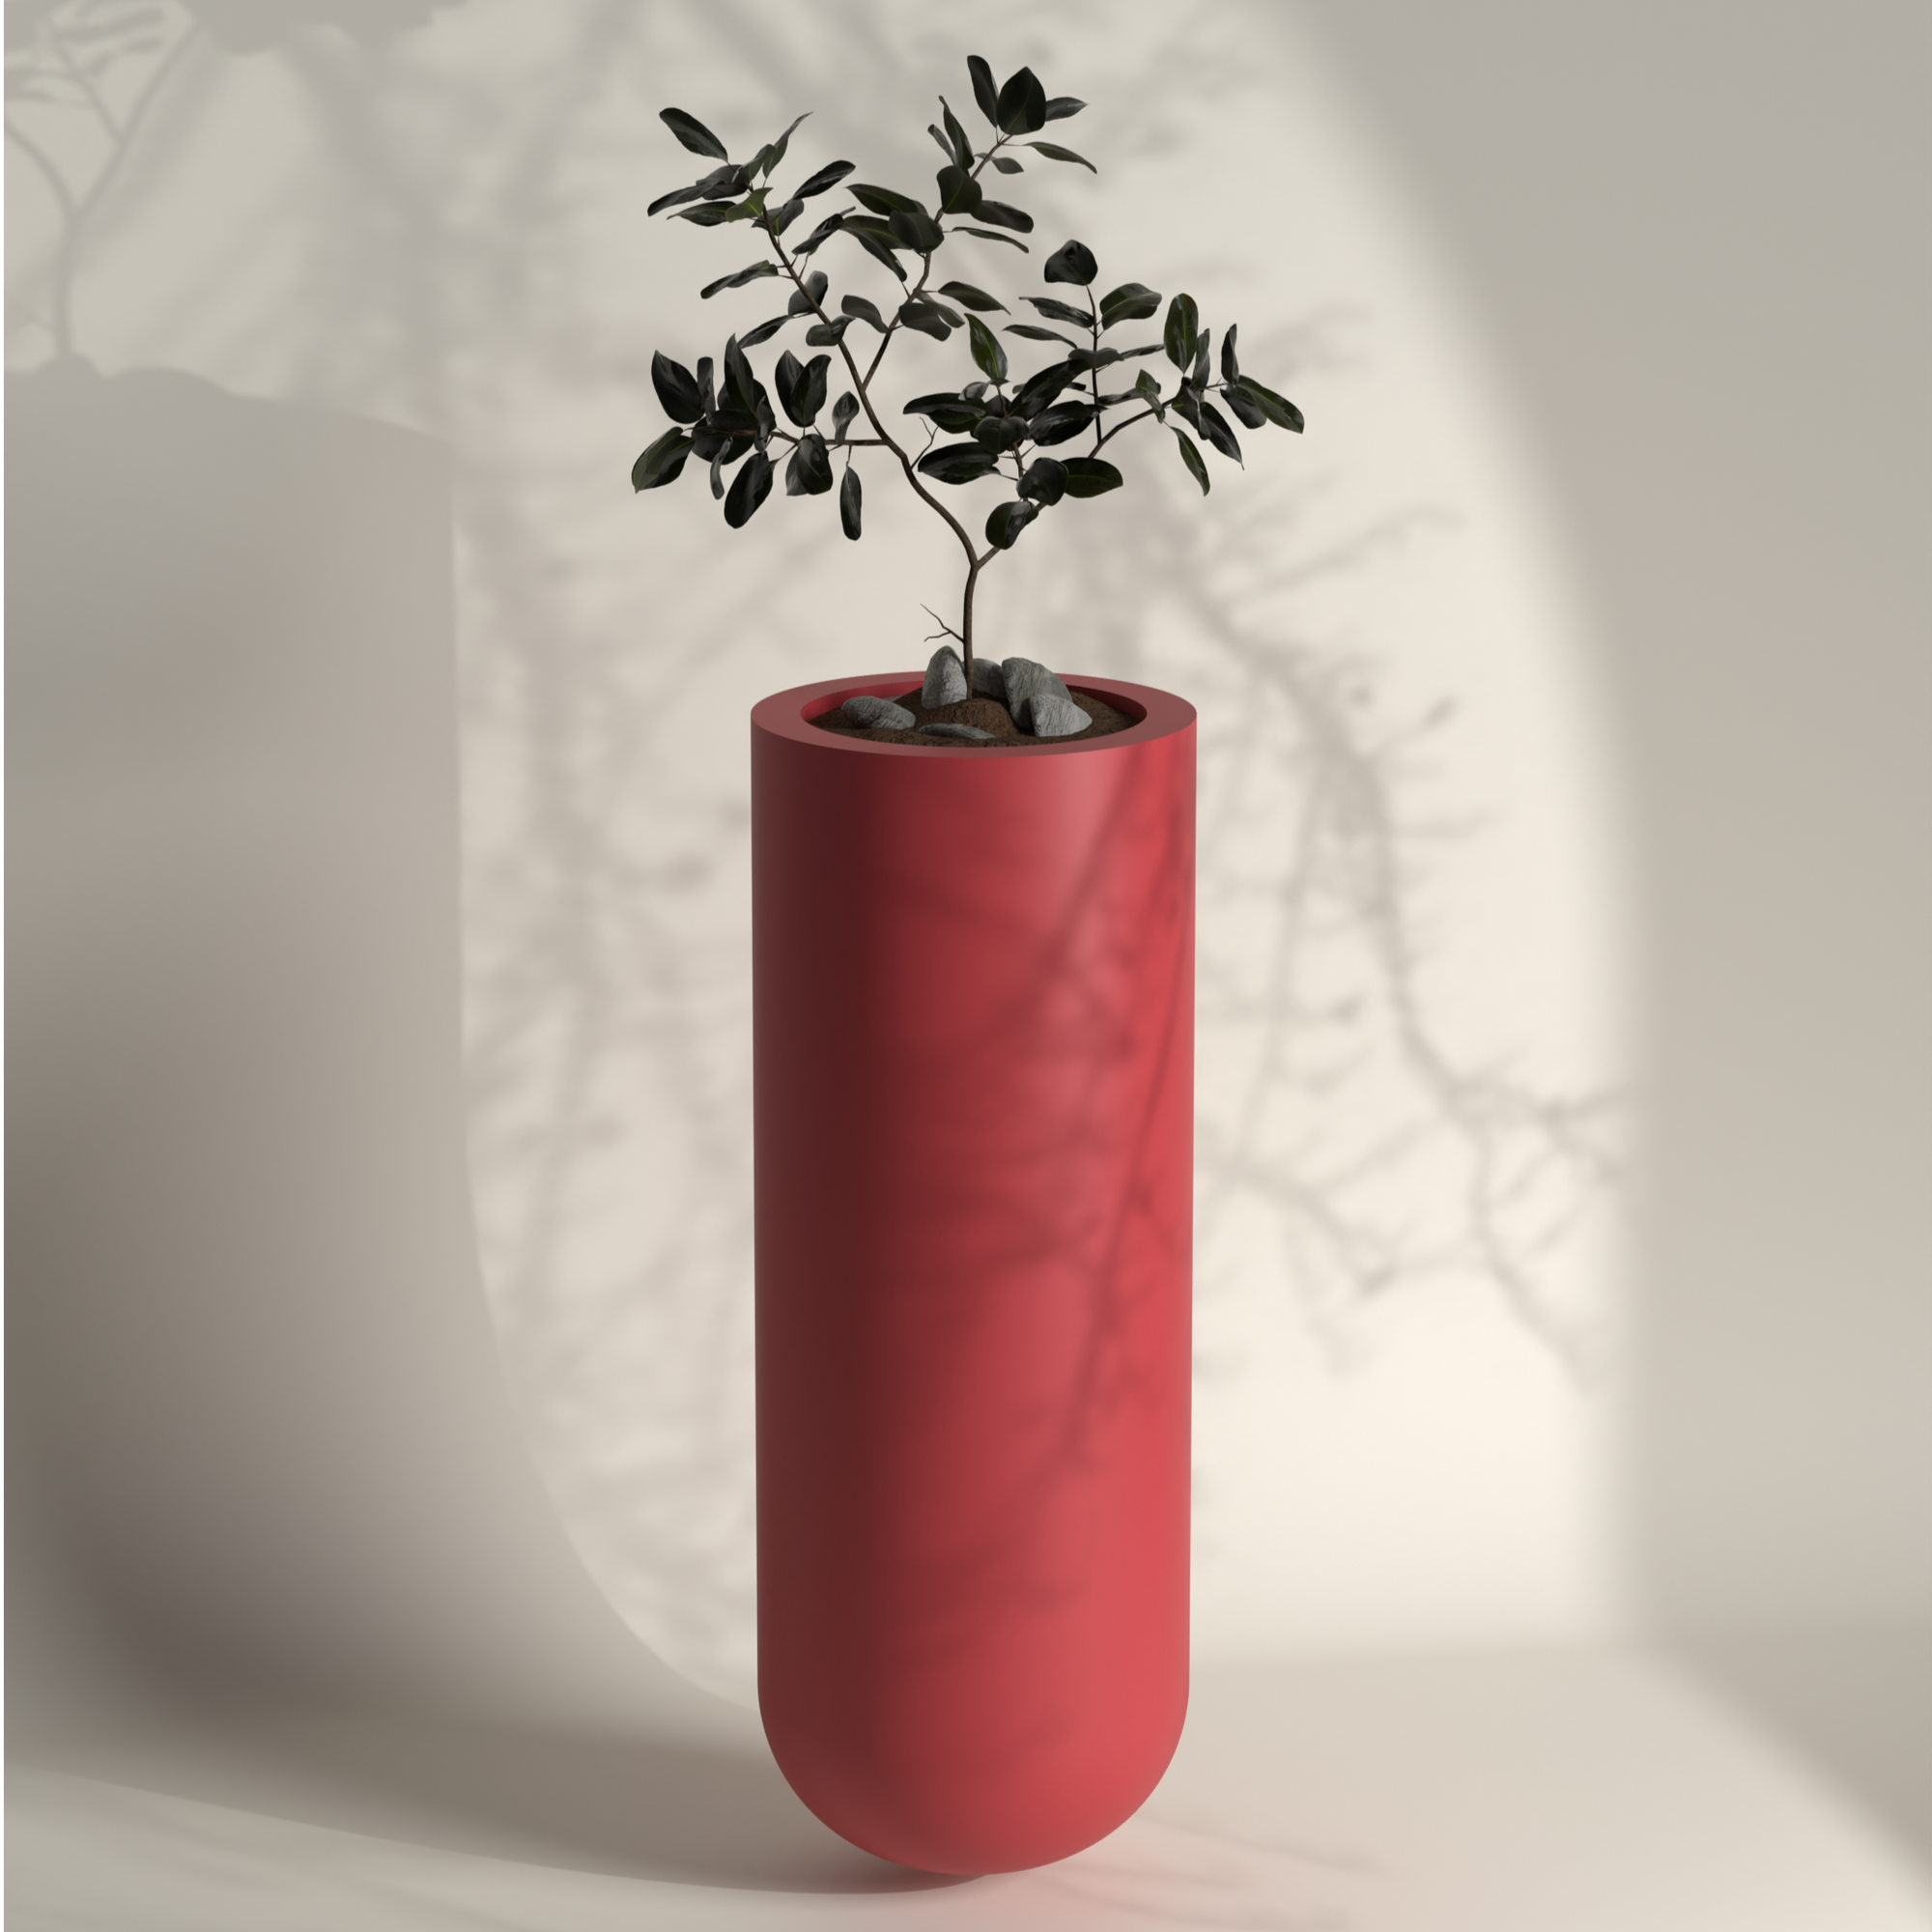
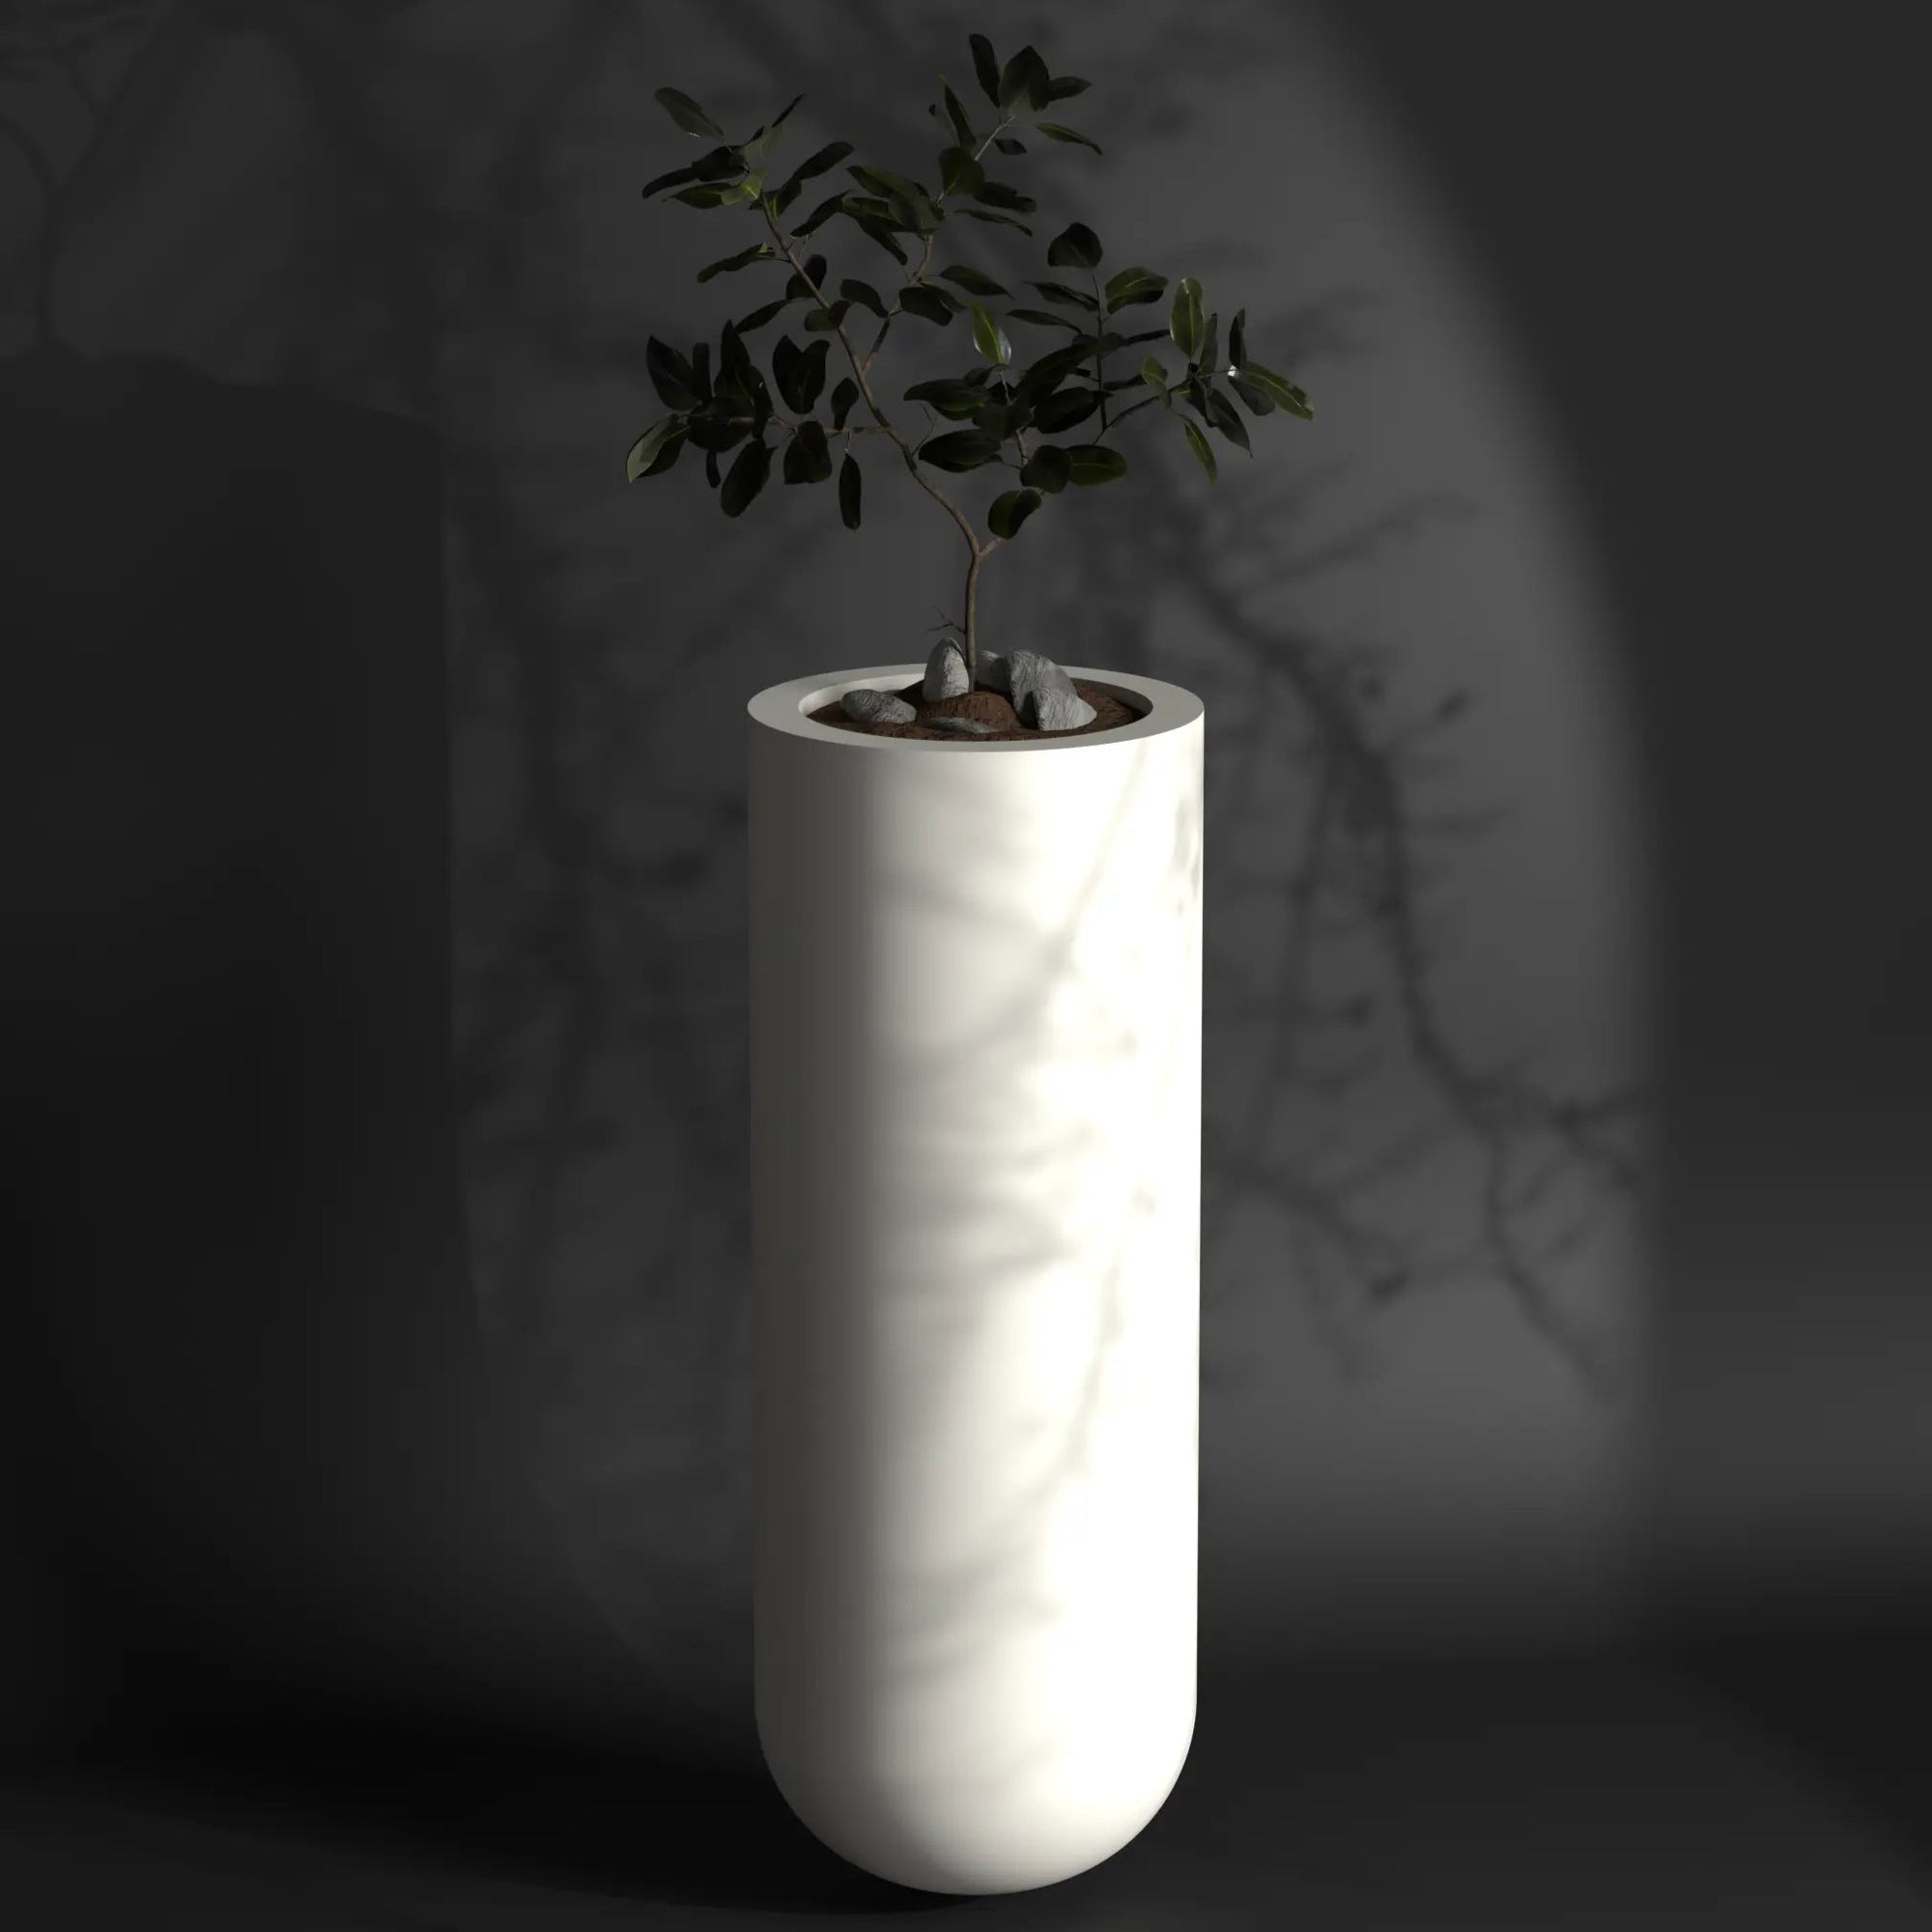
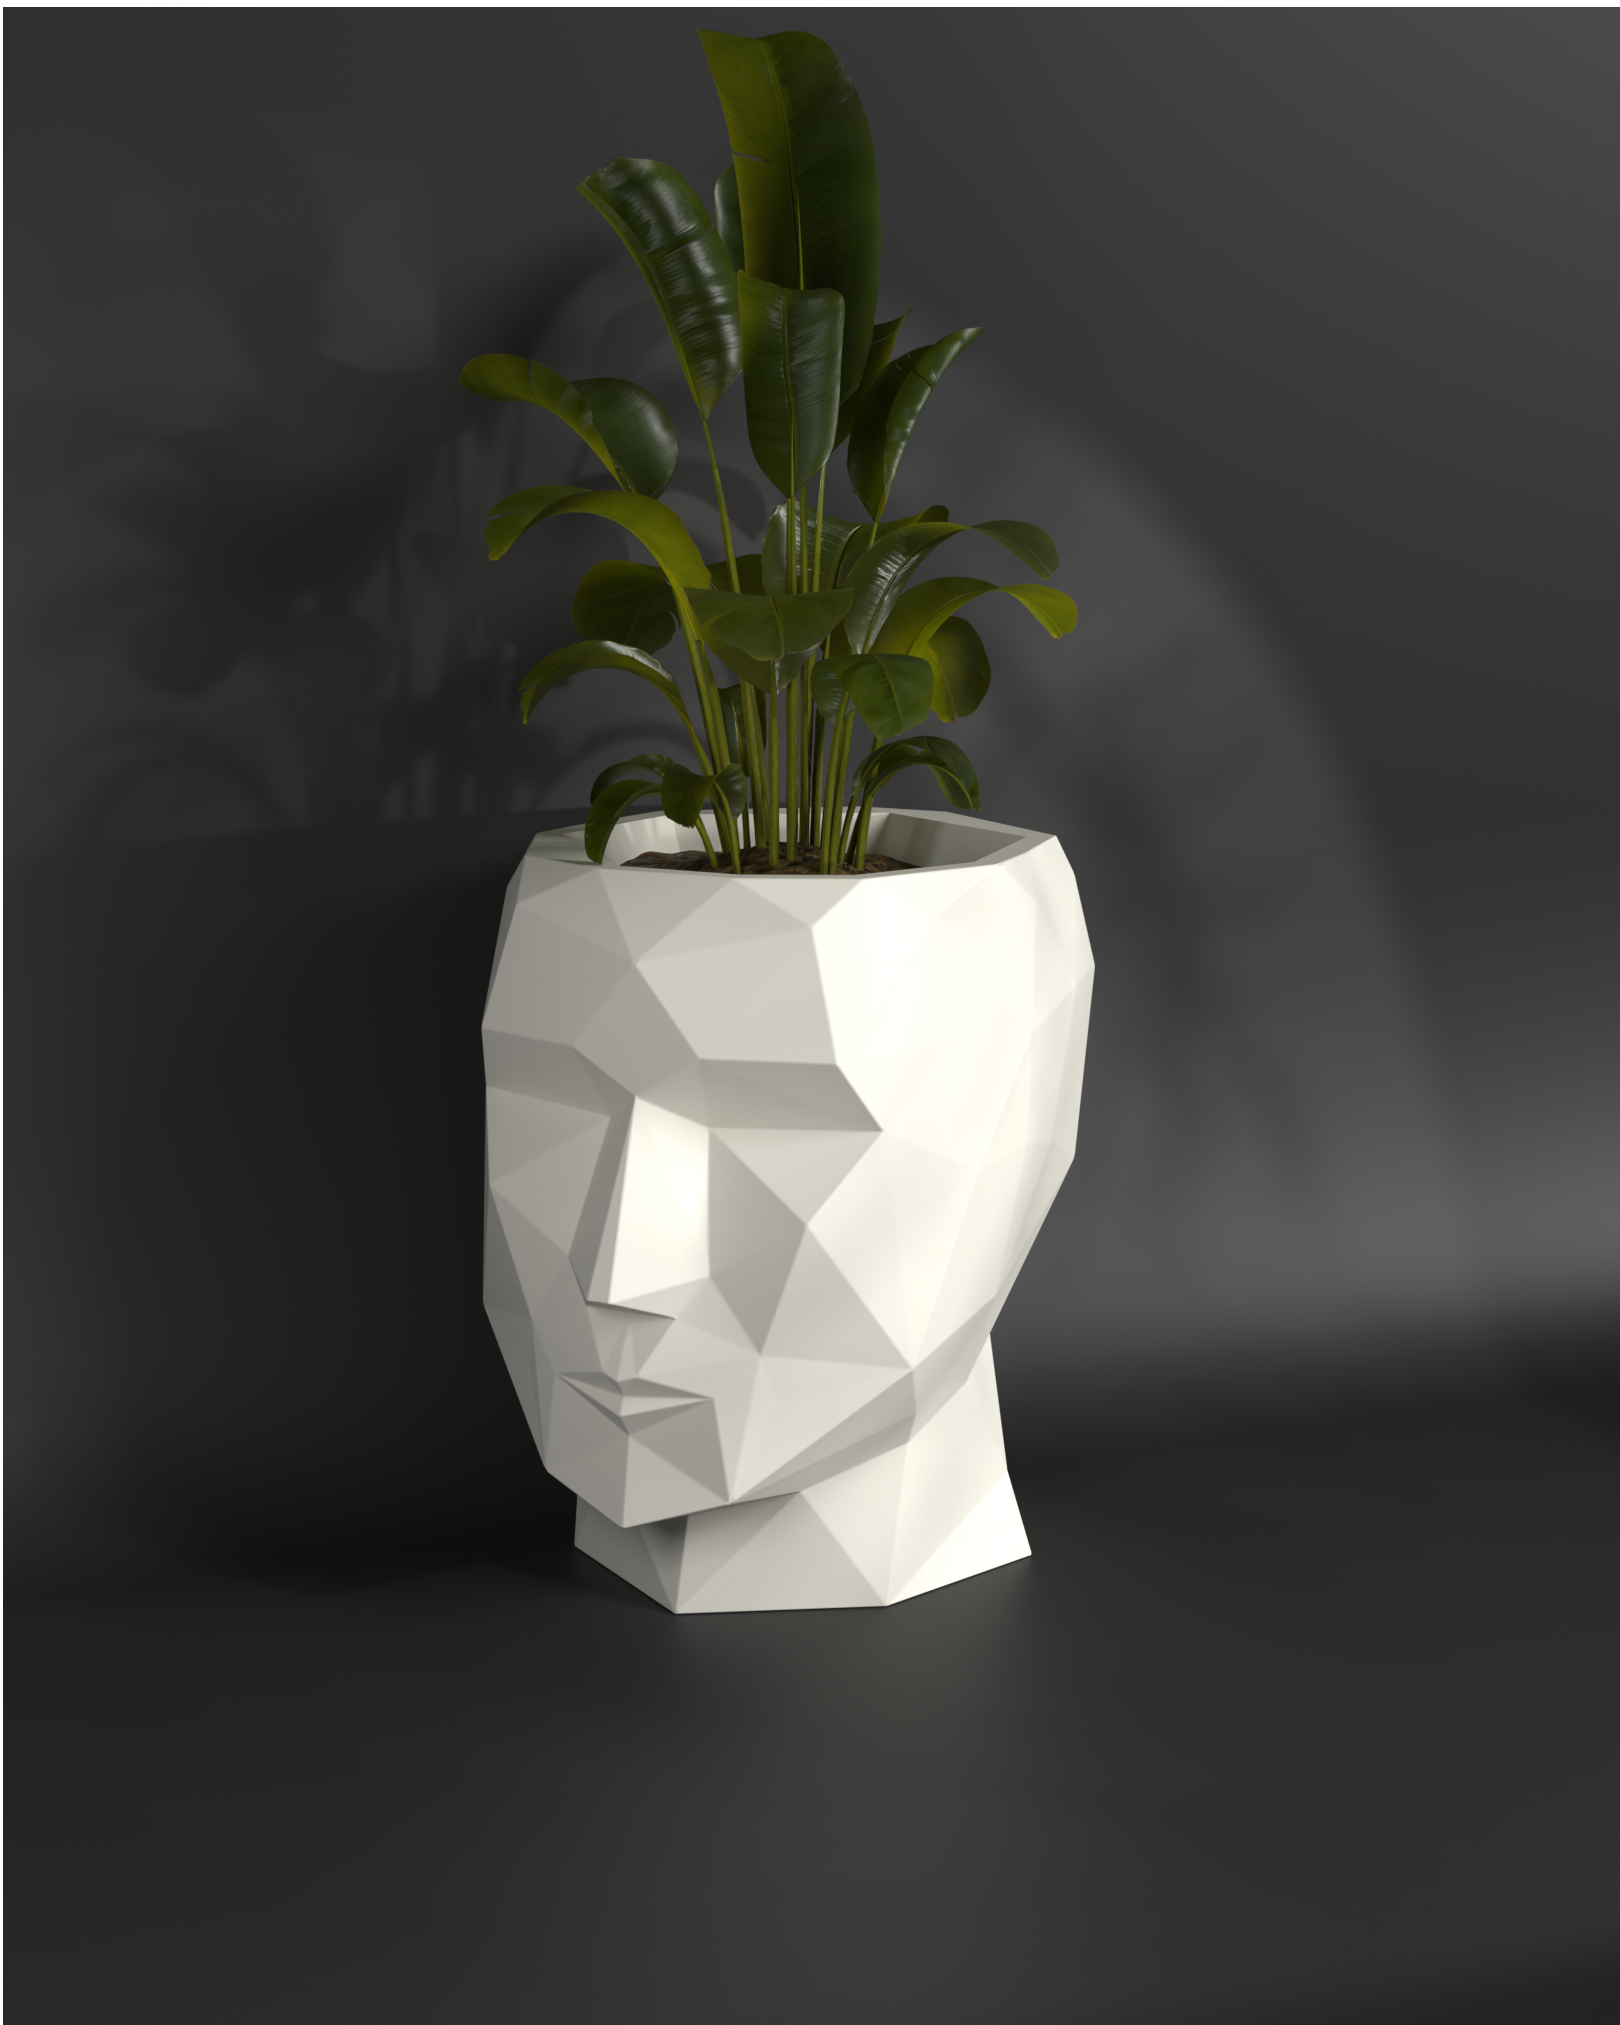
- Aesthetically Pleasing: FRP planters come in a variety of styles and colors, making them a decorative addition to any space.
Step-by-Step Guide to Propagating Plants in Planters
Step 1: Prepare the Planter
Before propagating your plants, prepare the planter by:
- Cleaning the planter with soap and water
- Sterilizing the planter with a solution of 1 part bleach to 10 parts water
- Rinsing the planter thoroughly
- Filling the planter with a
- well-draining potting mix
Step 2: Select the Right Plant Material
Choose healthy, disease-free plants with desirable traits, such as:
- Stem Cuttings: Take 4-6 inch stem cuttings from the tip of the plant, just above a node (where a leaf meets the stem).
- Leaf Cuttings: Take individual leaves or leaf sections, making sure each cutting has a small piece of stem attached.
- Division: Divide established plants, making sure each division has at least one growing point.
Step 3: Prepare the Plant Material
Prepare the plant material by:
- Removing lower leaves from stem cuttings, leaving only a few leaves at the top
- Trimming the cut ends of stem cuttings at an angle, using a sharp, clean knife
- Dipping the cut ends in rooting hormone powder or liquid to promote root growth
Step 4: Plant the Material
Plant the prepared material in the planter by:
- Planting stem cuttings 1-2 inches deep, firming the soil around the cutting
- Planting leaf cuttings 1-2 inches deep, firming the soil around the cutting
- Planting divisions at the same depth as they were previously, firming the soil around the roots
Step 5: Water and Provide Conditions
Water the planter gently but thoroughly, and provide the following conditions:
- Temperature: Maintain a consistent temperature between 65-75°F (18-24°C)
- Humidity: Maintain high humidity, using a clear plastic bag or cloche to cover the planter
- Light: Provide bright, indirect light, avoiding direct sunlight
Step 6: Monitor and Maintain
Monitor the planter regularly, maintaining the following:
- Watering: Water the planter when the top inch of soil feels dry to the touch
- Humidity: Maintain high humidity for the first 2-3 weeks, then gradually reduce
- Pest Control: Inspect the planter regularly for signs of pests, taking action promptly if necessary
Tips and Tricks
- Use a propagation tray: Use a propagation tray with individual cells to increase the success rate of your cuttings.
- Provide air circulation: Ensure good air circulation around the planter to prevent fungal diseases.
- Monitor for root bound: Check the planter regularly for signs of root bound, transplanting the plant to a larger planter if necessary.


