How to make your own Vertical Garden at Home
Create Your Own Vertical Garden at Home: A Comprehensive Step-by-Step Guide
Are you longing for a garden but feel limited by space? Dreaming of adding greenery to your home without compromising on square footage? A vertical garden might be the perfect solution! In this detailed guide, we’ll walk you through the process of creating your own vertical garden at home. Whether you’re an experienced gardener or a beginner, this project is fun, rewarding, and space-efficient.
What is a Vertical Garden?
A vertical garden, also known as a living wall or green wall, is a garden that grows upward using supports such as trellises, wall-mounted planters, or other structures. This innovative gardening technique is ideal for maximizing small spaces while bringing a fresh and vibrant touch to your home.
Why Choose a Vertical Garden? The Key Benefits
Before we delve into the details, let’s explore why vertical gardens are gaining popularity:
-
Space-Saving Design: Perfect for small apartments, balconies, or patios, vertical gardens utilize vertical space, leaving your floor area free for other uses.
-
Air Purification: Plants naturally purify the air by removing toxins and pollutants, making your indoor or outdoor environment healthier.
-
Visual Appeal: Vertical gardens transform plain walls into lush, green, and aesthetically pleasing focal points.
-
Low Maintenance: With the right setup, vertical gardens require less upkeep than traditional horizontal gardens.
-
Versatility: From succulents and herbs to flowers, you can customize your vertical garden to suit your taste and needs.
Materials You’ll Need
Here’s a list of materials to gather before you start:
-
Trellis or Wall-Mounted Planter: You can use a wooden frame, metal frame, or even upcycle materials like old pallets.

-
Waterproof Backing Material: Landscape fabric or a plastic sheet will help protect walls and retain soil.
-
Growing Medium: Use high-quality potting soil or a soilless mix.
-
Plants: Choose plants that thrive in vertical setups, such as succulents, herbs, trailing vines, or flowering plants.
-
Irrigation System (Optional): A drip irrigation system simplifies watering.
-
Decorative Elements: Add moss, stones, or tiles for a personalized touch.
-
Tools: Scissors, a staple gun, strong adhesive, and a small trowel.
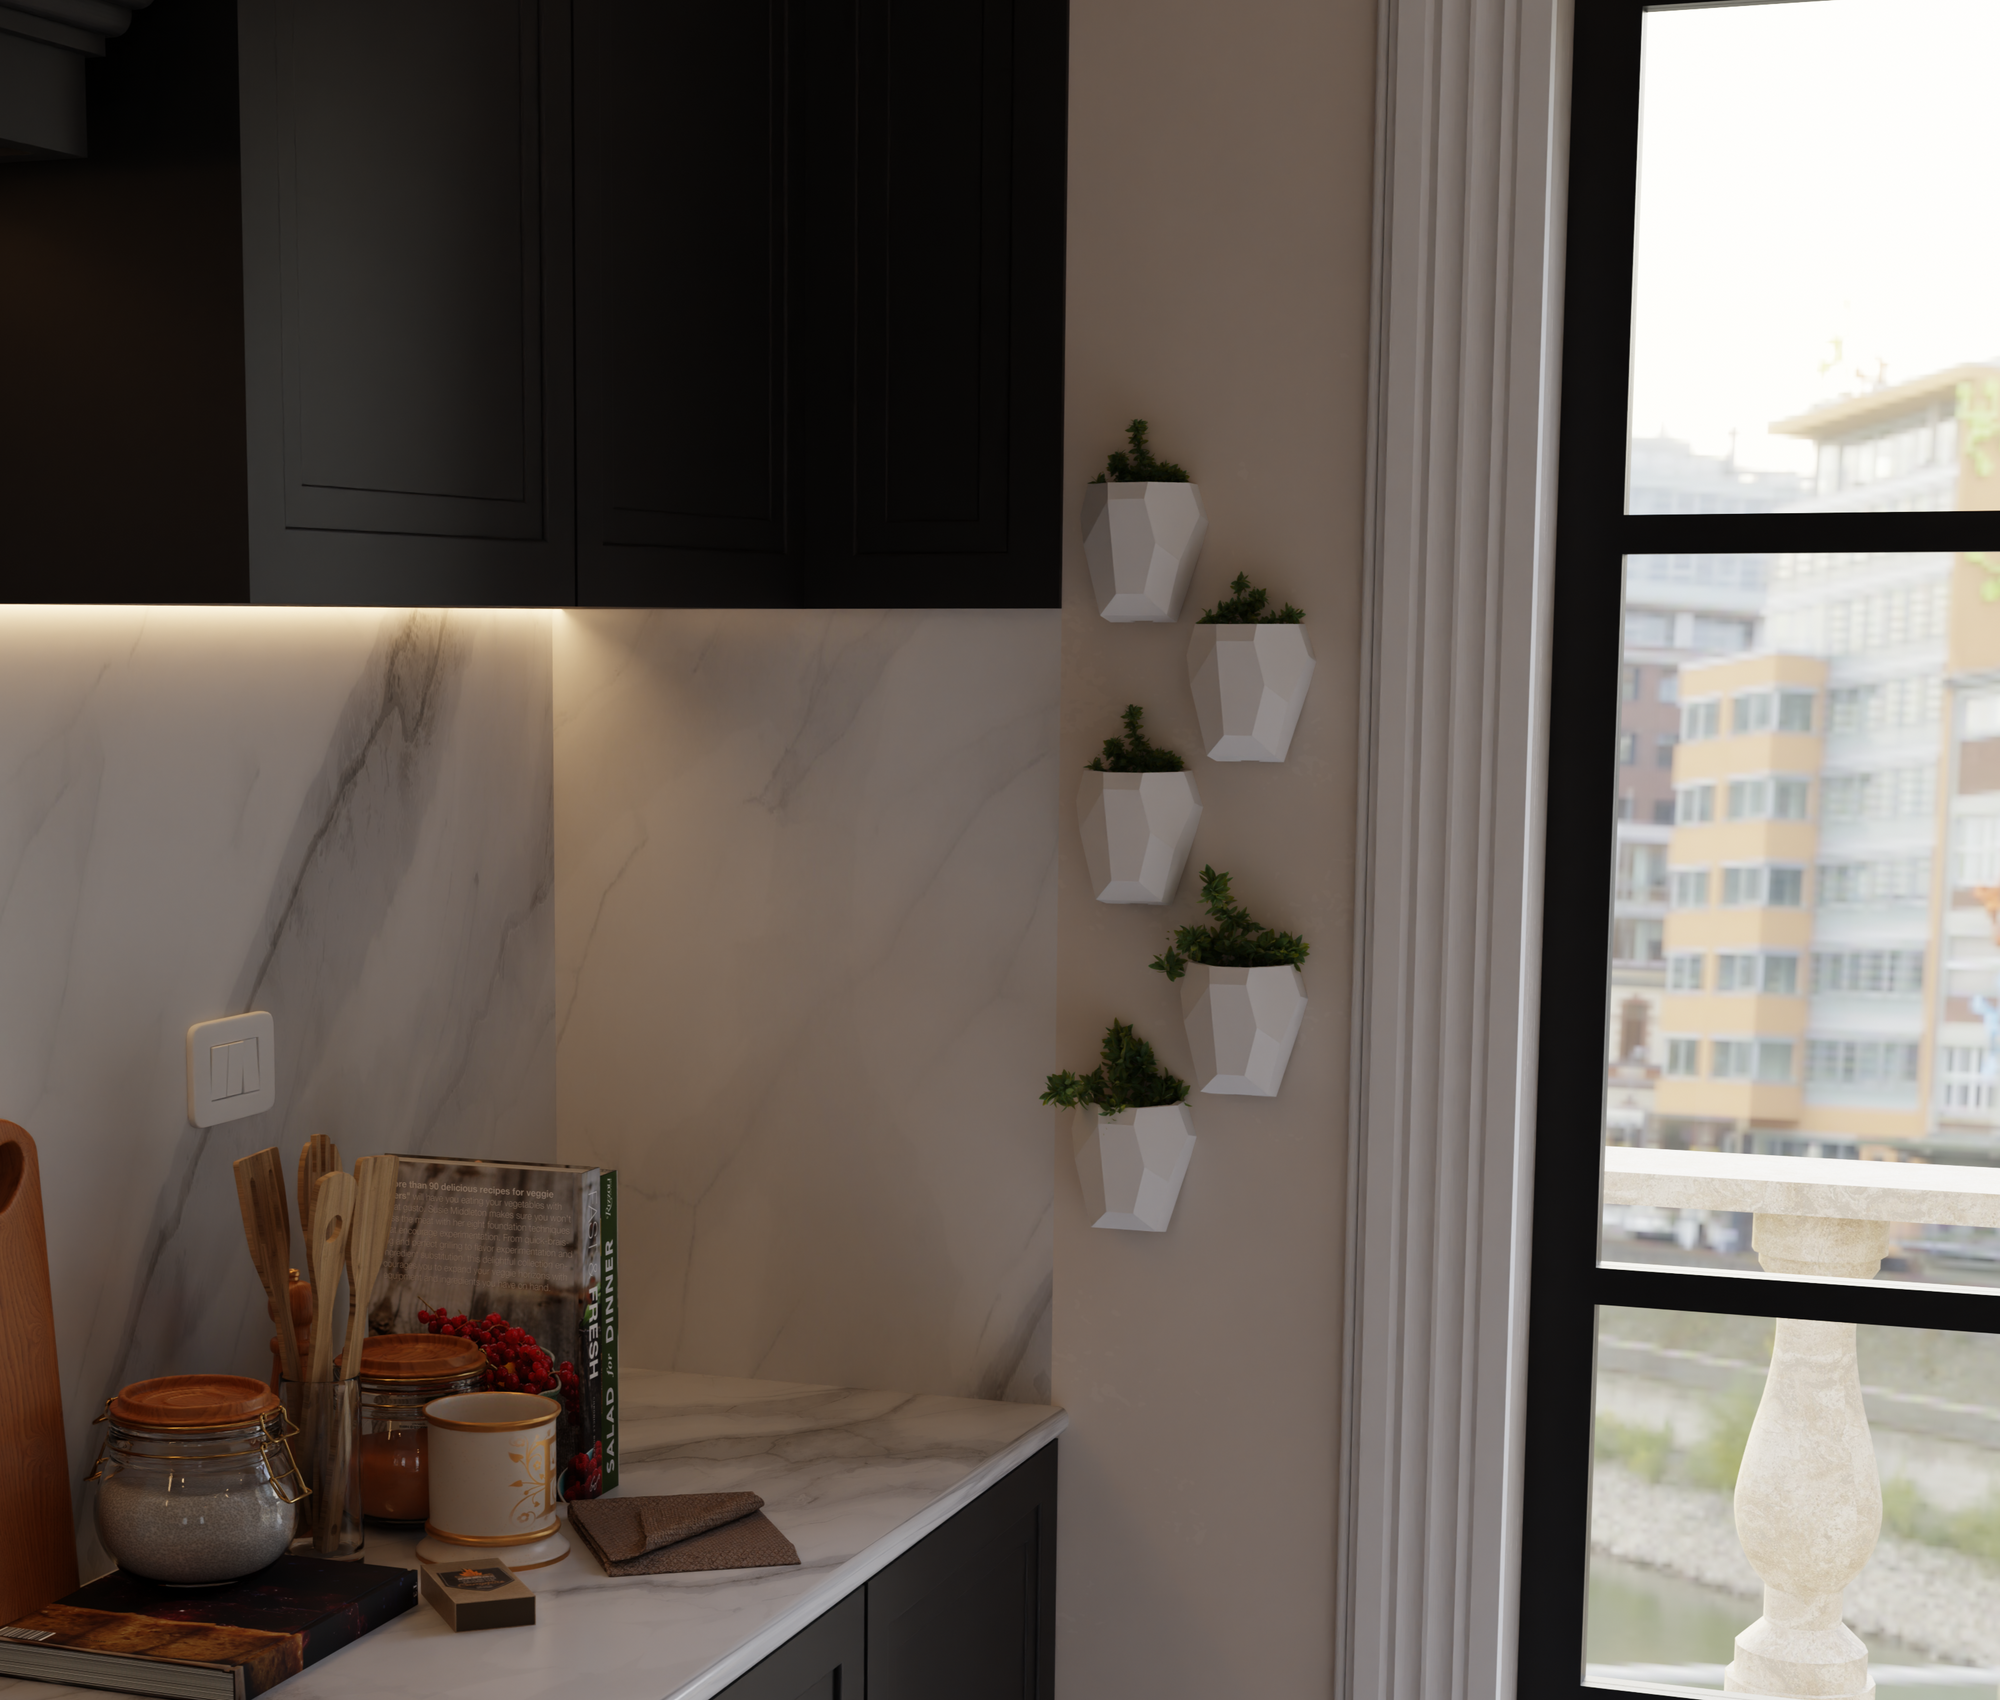
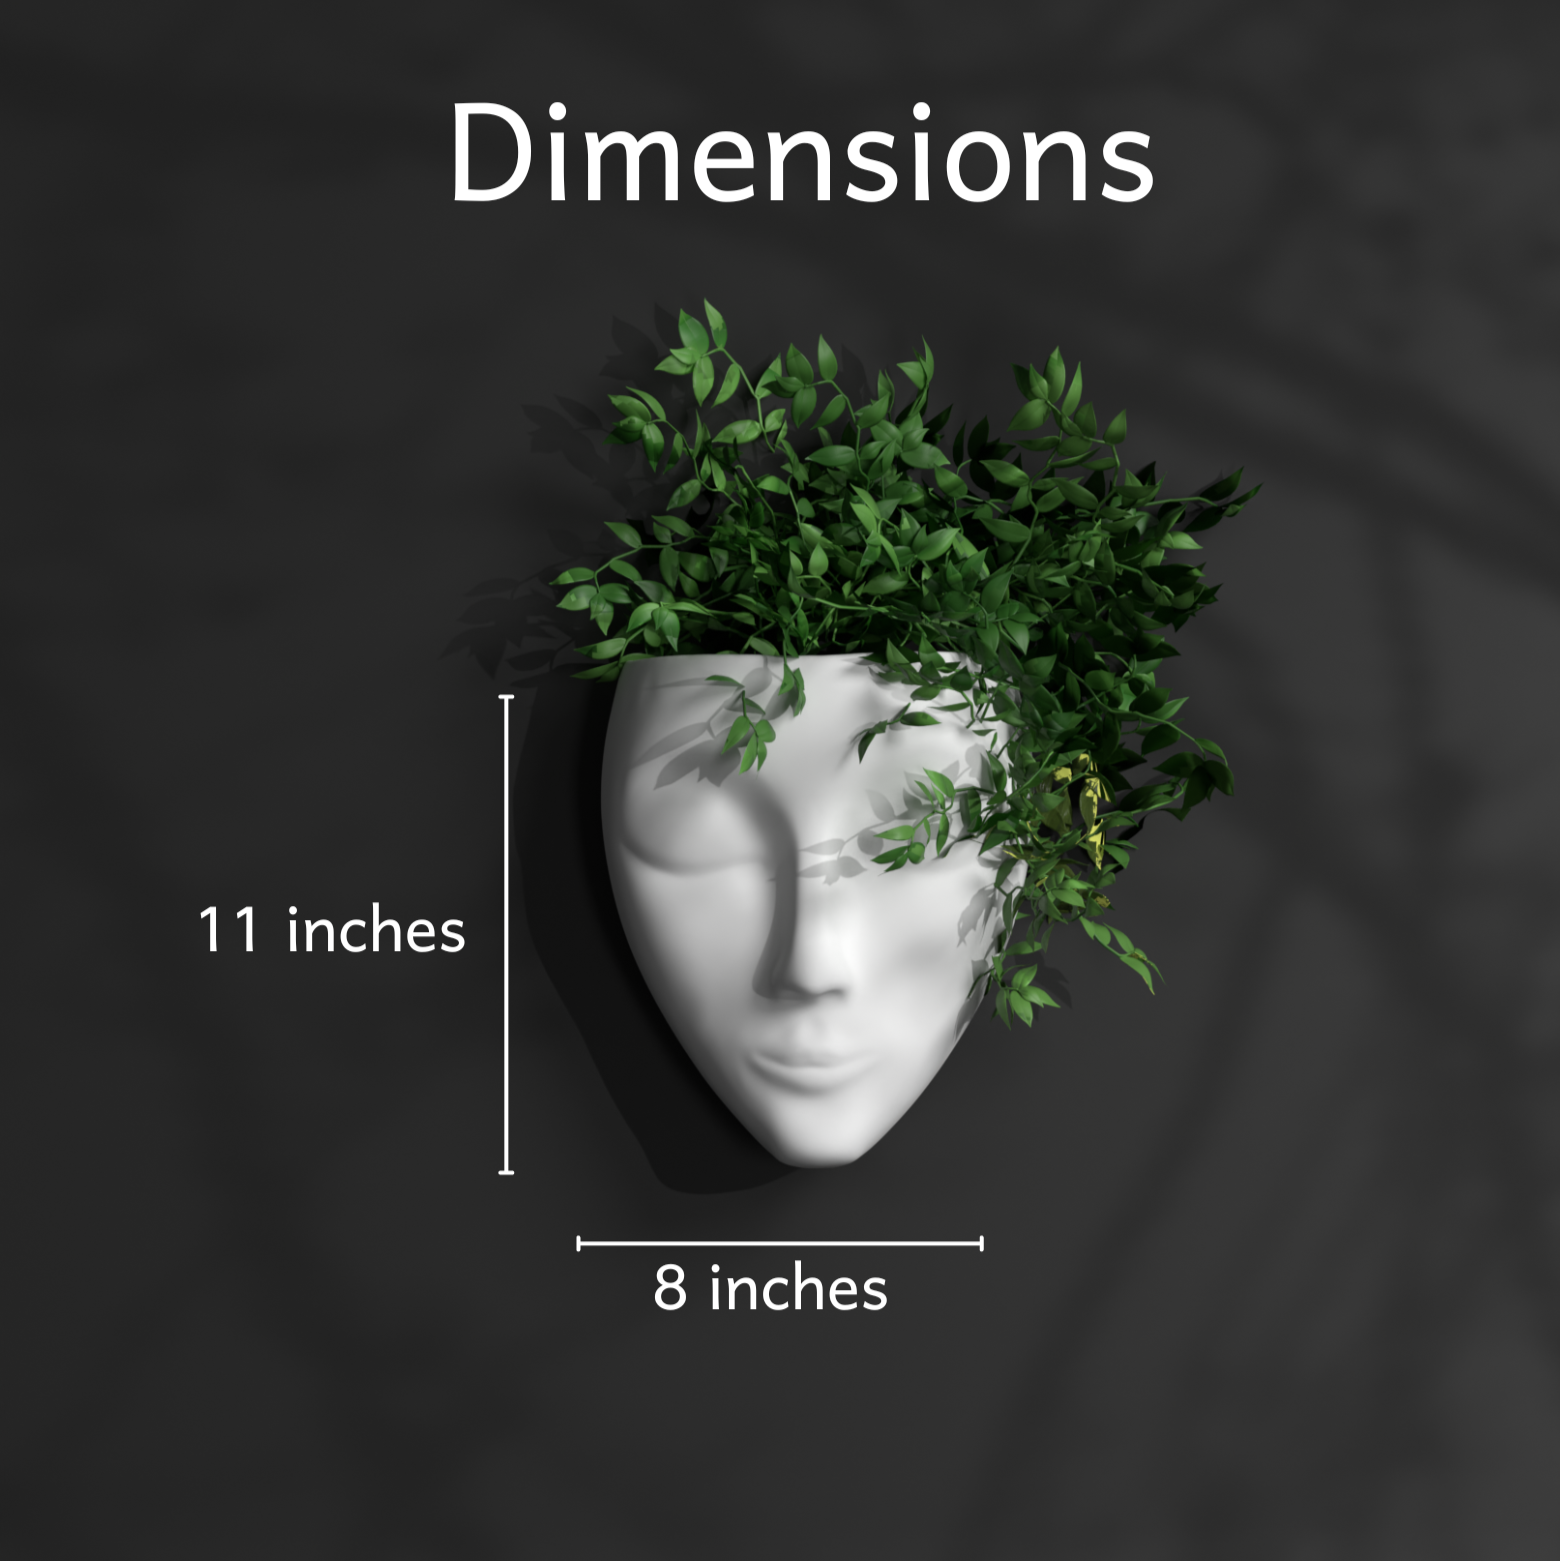
Explore wall-mounted planter collections from Gallery by The Workshop to find the perfect design for your vertical garden.
Step-by-Step Instructions to Create a Vertical Garden
Step 1: Prepare the Trellis or Planter

-
Clean and disinfect the trellis or planter to remove any dirt or contaminants.
-
If using wood, apply a waterproof coating to protect it from moisture damage.
Step 2: Attach the Waterproof Backing Material
-
Measure and cut the waterproof material to fit your trellis or planter.
-
Secure the material using a staple gun, strong adhesive, or wire. This layer prevents the growing medium from spilling out and protects your wall.
Step 3: Add the Growing Medium
-
Fill your planter or trellis with the growing medium, leaving some space at the top to facilitate watering.
-
Ensure the soil is evenly distributed for consistent plant growth.
Step 4: Choose and Plant Your Greenery
-
Select plants suited to your vertical garden’s location (e.g., sun-loving plants for outdoor walls or shade-tolerant varieties for indoor spaces).
-
Plant each specimen with enough spacing for healthy growth.
Step 5: Install an Irrigation System (Optional)
-
For easier maintenance, consider setting up a drip irrigation system or self-watering pots.
-
Ensure the system distributes water evenly to all plants.
Step 6: Decorate and Customize
-
Enhance your vertical garden’s look with decorative items such as moss, stones, or colorful tiles.
-
Frame your garden with wood or metal for added structure and style.
Step 7: Mount and Admire

-
Secure your vertical garden in the chosen spot using brackets or sturdy hooks.
-
Stand back and enjoy the beauty and benefits of your new green space.
Tips for Success
-
Select the Right Plants: For low-maintenance options, choose succulents or drought-tolerant plants. For a functional garden, opt for herbs like basil, thyme, or parsley.
-
Use Proper Lighting: Ensure your garden gets adequate light. For indoor setups, consider grow lights.
-
Regular Maintenance: Trim plants, check for pests, and ensure the irrigation system is functioning correctly.
-
Test Before Hanging: Before mounting, ensure the structure is stable and can hold the weight of the soil and plants.
-
Choose Eco-Friendly Materials: Reuse items like old pallets, bottles, or cans to create a sustainable vertical garden.
Creative Variations for Your Vertical Garden
1. Trellis with Pockets
-
Use a trellis with built-in fabric or plastic pockets for easier planting and maintenance.
2. Framed Living Art
-
Transform your vertical garden into a framed living art piece using trailing plants and vibrant flowers.
3. Living Wall
-
Cover an entire wall with a vertical garden to create a striking feature that improves air quality and aesthetics.
4. Recycled Materials
-
Upcycle old items like wooden crates, plastic bottles, or cardboard tubes to build an eco-friendly vertical garden.
5. Incorporate Water Features
-
Add a small fountain or a birdbath for a tranquil and visually appealing garden.
Vertical Garden Maintenance Checklist
-
Watering: Check soil moisture levels regularly and water as needed. Ensure proper drainage to avoid root rot.
-
Pruning: Trim plants to maintain their shape and encourage healthy growth.
-
Fertilizing: Use a balanced fertilizer periodically to nourish your plants.
-
Pest Control: Inspect for pests and address issues promptly with organic or chemical solutions as appropriate.
-
Seasonal Adjustments: Swap out plants to match the season or to refresh your garden’s appearance.
Why a Vertical Garden is Worth the Effort
Investing time and effort into creating a vertical garden can transform your space while delivering numerous benefits. Whether you’re looking to enhance your home’s aesthetics, improve air quality, or grow your own herbs and vegetables, a vertical garden is an excellent choice.
So, why wait? Start building your vertical garden today and experience the joy of nurturing nature within your home. Visit Gallery by The Workshop for high-quality planters and accessories to kickstart your project.
Final Thoughts
Creating a vertical garden is more than just a DIY project; it’s a way to bring life, color, and vitality into your space. With this step-by-step guide, you’re well-equipped to design a vertical garden that suits your needs and style. Happy gardening!


